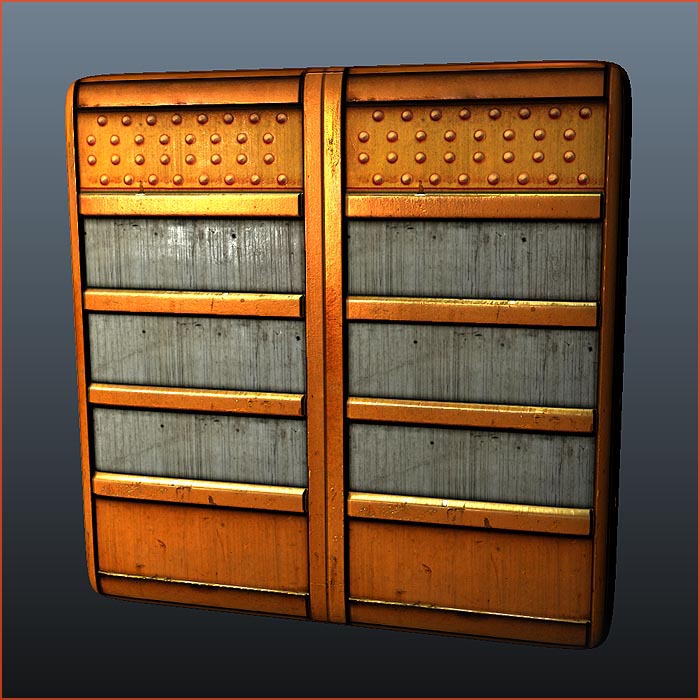
Texture Creation using nDo2
About : Creating textures using photosources for Diffuse, and nDo2 for the Normal map.
Target Audience : Photoshop and nDo2 users – Intermediate
Platform : Photoshop/nDo2
Latest Update :October 2011
Introduction
I never really got into zBrush and Mudbox, I have always stuck to the oldschool approach of pure Photoshop for 2D work. No sculpting or such. zBrush and Mudbox are great tools, but it really adds an extra layer of complexity to texture creation, and I am not too fond of using too many different tools
next to each other. I much prefer a one stop solution for all I want to do. Keeps down the costs of acquiring software, less things to learn and keep up with, and keeps up the workflow.
That pure Photoshop approach regained a lot of its credibility again with the recent release of nDo2. nDo2 is a new program that hooks into Photoshop, and allows you paint, sculpt, convert, and draw normal maps directly from within PS. It also comes with a nice 3D previewer, and Ambient Occlusion/Specular/Heigth support. It returns a lot of power back to Photoshop.
In this tutorial I am going to show you how I usually create my diffuse textures, and how to then take a diffuse texture into nDo2 and use it to create a normal map for it.
The tutorial requires at least basic Photoshop knowledge.
Diffuse
I almost always start off from photos. My usual approach is to:
On CGTextures.com, you can find the following photo in Metal – Containers
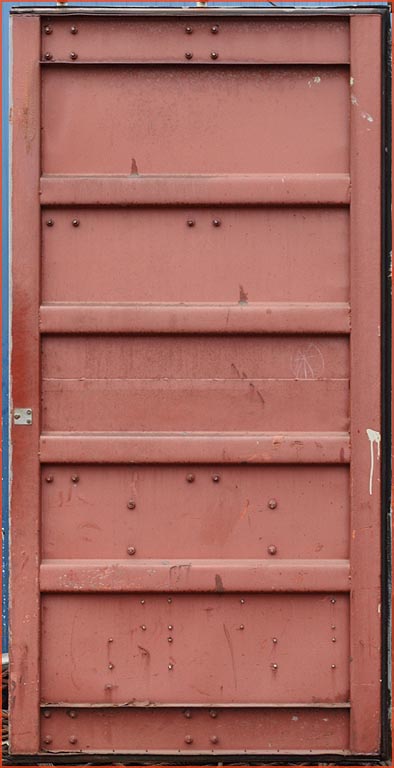
1.) Crop of the blue around the edges (Crop tool in toolbar – C is the shortcut) and resize it to nearest power of two via Image – Image Size. In this case that was 2048×1024 pixels.
2.) The photo is a bit blurry so do Filter – Sharpen. Not really ideal, but at least it helps a bit. I sometimes also sharpen things through a High Pass, refer to my Photoshop texturing tricks tutorial on how to set that up. Also, in my experience the lower res the texture is the more it has to be sharpened. When I work with 512 textures, or most especially with anything under 512 I always sharpen it quite a lot. It really makes a significant difference on low res textures.
3.) Paint out all details that would allow the player to recognize all instances of this texture in the game are the same. So anything that is too unique or special has to go.
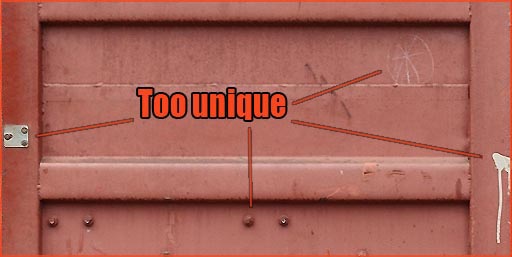
My usual approach is to paint things out with a combination of the Clone Stamp Tool, Healing Brush Tool, and Patch Tool. All found in the regular toolbar.
4.) Next up adjust the brightness and contrast, and its color. I almost always use Image – Adjustments – Levels for this, and I almost always exaggerate the difference between bright and dark (or in other words increase the contrast) on my photo sourced textures.
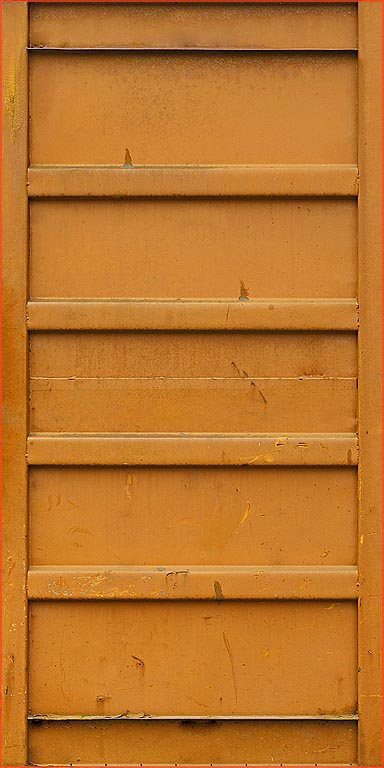
I always use Image – Adjustments – Hue/Saturation, Photo Filter (same location), or a new layer on top of the photo filled with a solid color and set to Overlay, to alter the color of the photo.
5.) Time to mix in some other photos. Since this texture is to function as a wall panel, some concrete would do well. Mixing up different material types almost always leads to some nice variation. You can find the following texture on CGTextures, in the Concrete section.
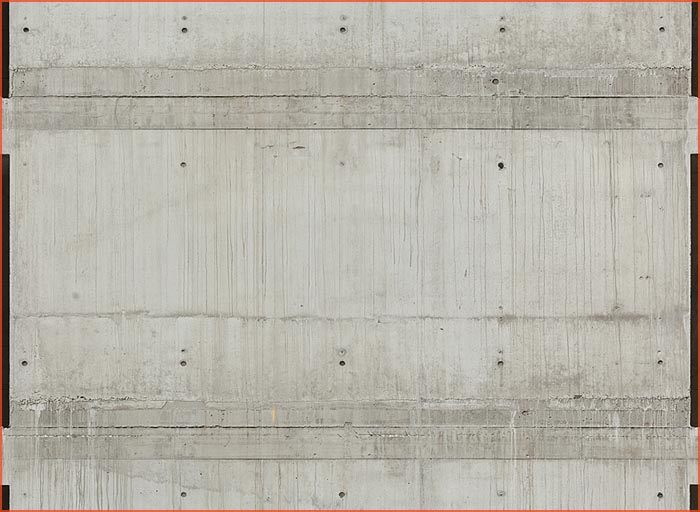
Cut out three pieces and place them in the three middle spaces. Open up the Blending Options of the concrete layer (Right click the layer – top of the menu), and enable Inner Glow. Also, set Blend Mode to Overlay for Inner Glow, and set the color to black. Bring Opacity down to 70%, and Size to 35 px (The inner glow size depends on the size of the texture – if the texture is smaller than my 2048 texture you should adjust the Size accordingly.)
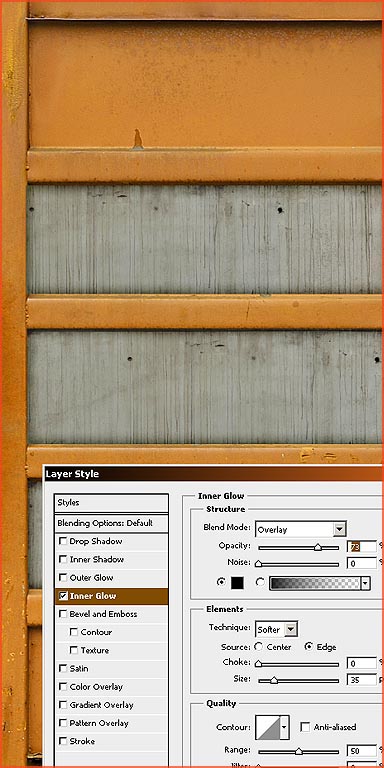
I often use Inner and Outer Glow to simulate dirt accumulating around the edges of things, and to help different elements blend in better.
6.) To add some more variation add some rivets. I found the following photo on CGTextures, somewhere in the Metal section.
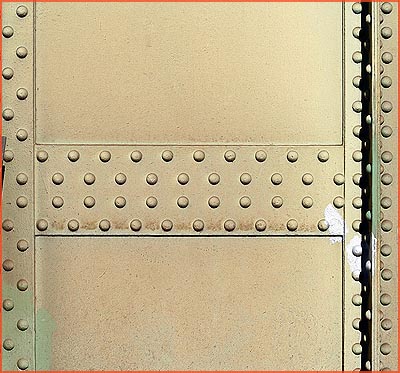
Cut out the middle part of the photo and blend it over the top space of my panel. On the contrary to the concrete, set this layer to Overlay blend mode, so it takes over the color and structure of the panel underneath. Also desaturate this layer entirely, and adjusted the brightness to help it fit in better.
Optionally you can also apply Outer Glow around the rivets to simulate dirt around them and enhance the depth of the texture, and you can brighten up the tops with some adjustment layers.
7.) You might want to apply a general brightness adjustment over all layers to bring down the brightness a bit. I thought it was a bit bright once brought into nDO. Adjustment layers can be added through the buttons at the bottom of the layer panel (near new layer).
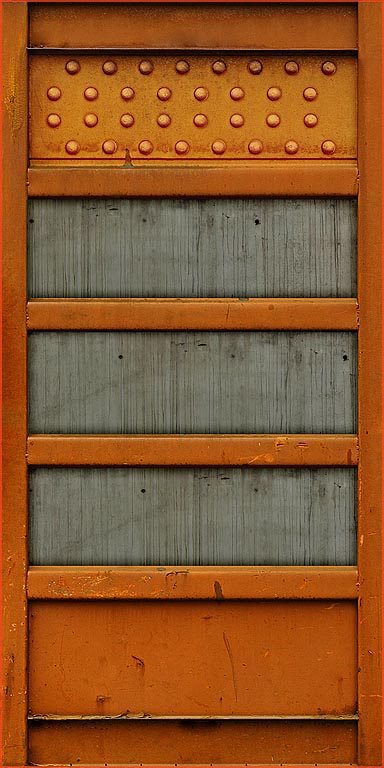
8.) The edges of the metal are a bit soft and blurry so emphasize them more. The best way, quality wise, would be to do this entirely by hand, but to keep up the pace, and this tutorial easy, we will stick to the Bevel feature.
Make a new layer and fill up the space of one single metal bar with perfect gray (#808080), and then set the layer to Vivid Light. This should make the layer invisible. Then open up the Layer Style dialog of that layer, and enable Bevel and Embos. Set the Technique to Hard, increase the depth to almost 400%, and make sure the Light Angle is 90 degrees. Also set Highlight Mode to Overlay.
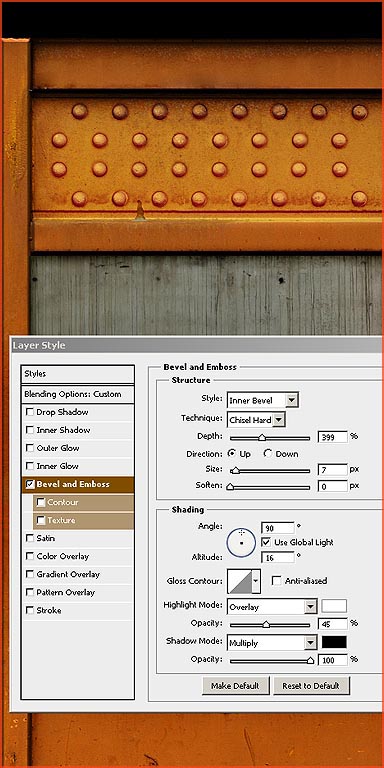
Then repeat these steps for every bar of metal.
9.) Finished Diffuse texture.
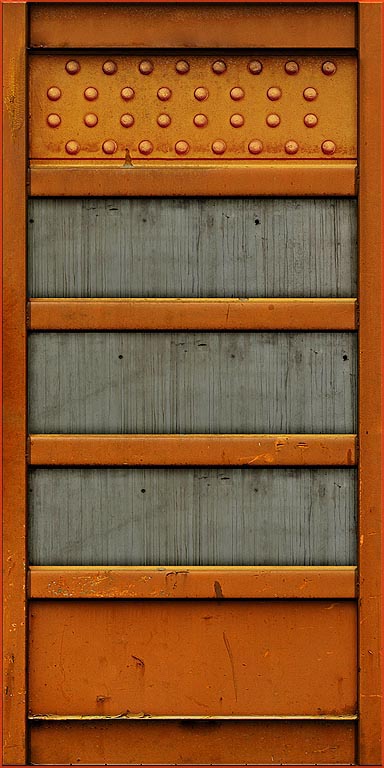
Normal Map
For the sake of the tutorial and the demonstration we will be creating the normal map in three steps:
All these normal maps can then be blended together to form the final normal map.
1.) Converting Diffuse to Normal Map
a.)Flatten the diffuse and make sure the diffuse texture is the active document in Photoshop. Then start up nDO2 and click the large Convert button.
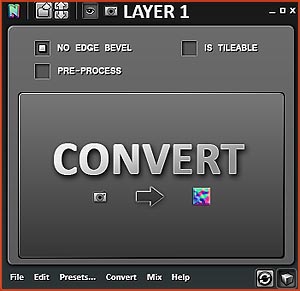
You can then further adjust the result with the sliders.
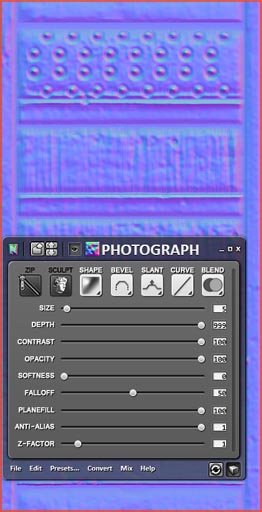
b.) Alternatively you can also generate a normal maps through the use of Presets. Lets go back to the original Diffuse image. To get back to the original simply press Undo a couple of times in Photoshop.
In the bottom menu of nDO2 press Presets. A new window opens up.
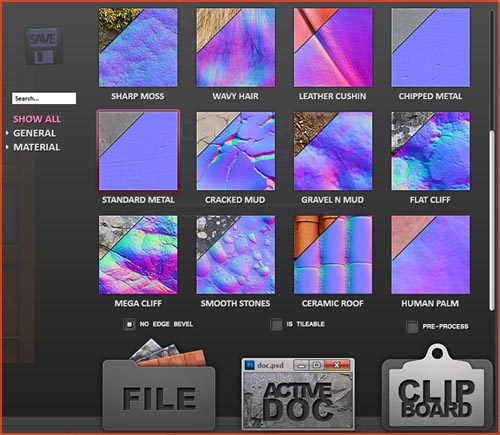
Select the preset you’d like to use, for example Standard Metal, and then click Active Doc at the bottom, assuming you wish to apply this to the currently opened document.
nDo should now separate the texture into three sets. Large Dents, Small Scratches, and Tiny Scratches.

If you click on one of them you can then adjust a range of values for this set, giving you greater control over the result than the standard Convert Diffuse -> Normal map operation.
Play around with the settings and get yourself a quite subtle normal map. About as subtle as this.
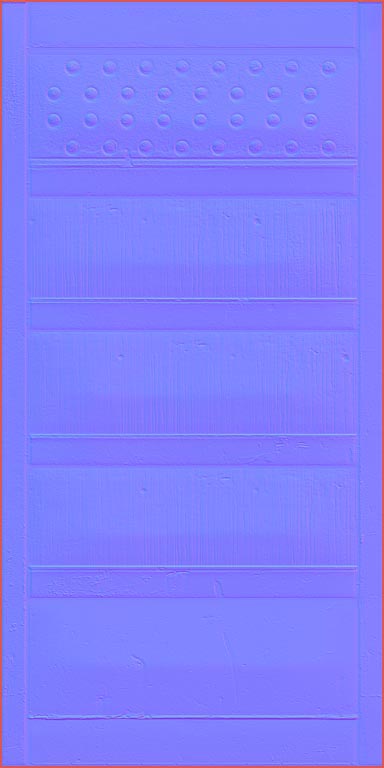
We are only after the fine and small detail here, nothing else, so keep it subtle! The big detail will be done by hand.
2.) Drawing a normal map
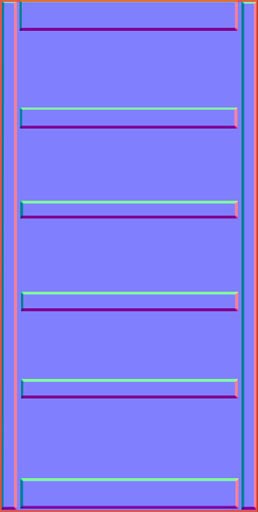
a.) Again two ways. The first approach is pixel based. Draw or create a neutral gray image that has the biggest and most important details marked out in a brighter color. Such as done in this image.
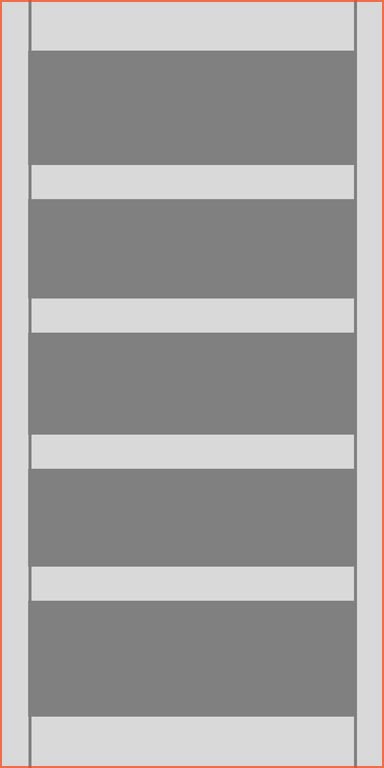
And then hit Convert Photo to Normal, as done in step a.) from Converting Diffuse to Normal Map.
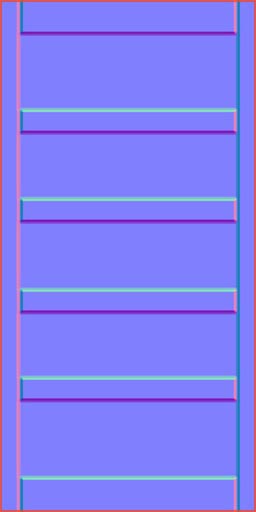
nDO bevels the brighter parts, the size of the bevel, and other settings, can be set in the nDO dialog window.
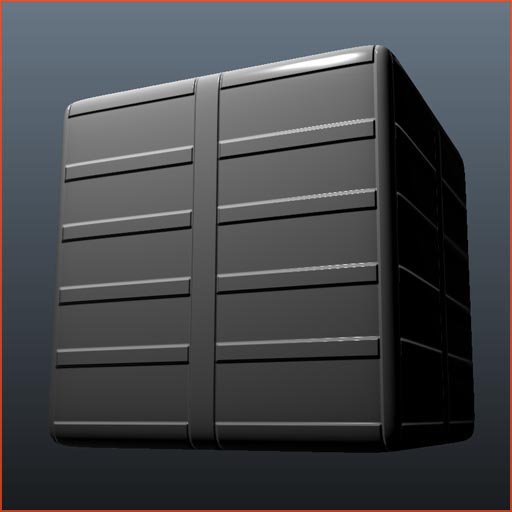
b.) Or, you can use Shapes/Vectors. The advantage of using vectors is not only that you can freely resize the shapes without losing quality, but also that it leads to sharper normal maps. Pixels always blur out a little, vectors do not.
Return back to your original diffuse, and draw Paths on top of it using the Pen tool, found in the regular tools panel. Drawing with the pen will create a Path layer in the Path window.
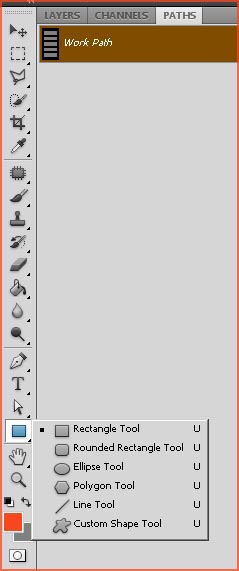
Click once to set the first point, and then hold Shift when clicking the second time, to create a straight line. Alternatively you can also use the circle and rectangular drawing tools.
Here is the Diffuse with paths drawn on top of the most important parts.
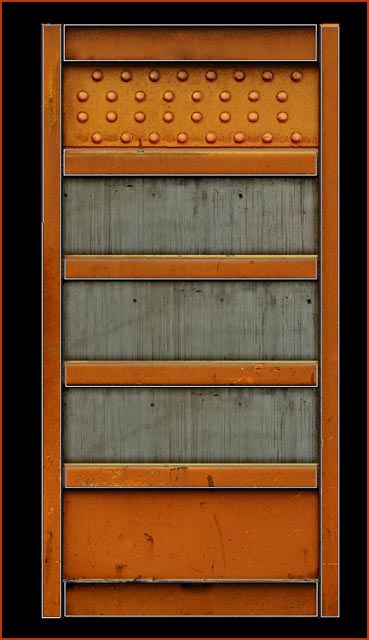
Make sure you have the Work Path selected in the Paths tab (and not any regular layer or such), and then in nDO2 click the large Convert Paths to Normal button.
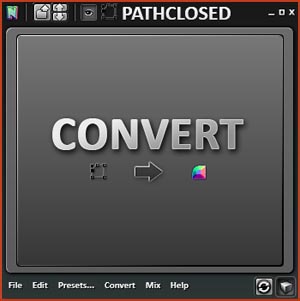
You now have a normal map created from vector Paths.
Blending two normal maps
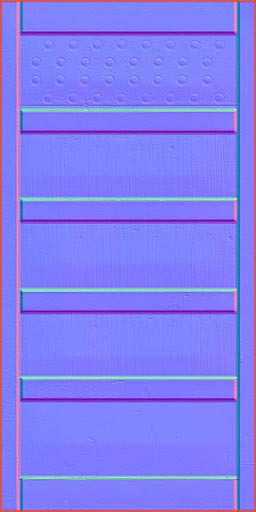
Next up, blending the normal map created by converting the diffuse together with the one made by hand. Open one of the two, and then copy paste the other one into the same file, so it becomes a layer above the first normal map. Have the top layer selected and then go to the bottom menu in nDo2 – Mix – Overlay Normal.
3.) Extra Detail – Sculpting
One of the most powerful features of nDO is the ability to sculpt normal maps directly within Photoshop using any regular Photoshop tool.
Open any file (for example your current normal map or the diffuse texture), and add a new empty layer. Now convert the empty layer to a normal map via nDo2.
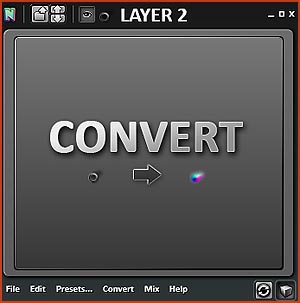
Next hit the Sculpt button at the left end of the top toolbar within nDO2 (second button – right of Zip).
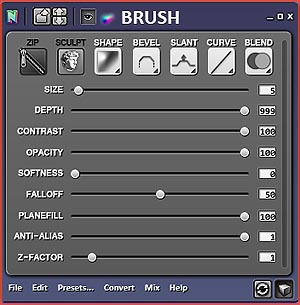
You can now paint normals directly onto the canvas using any Photoshop tool and any brush you have installed!
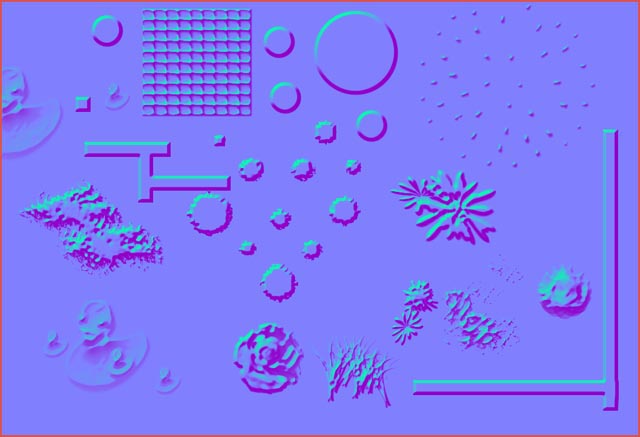
Paste in your Diffuse texture as top layer and set its opacity to 10% so you can see where to sculpt and then sculpt away!
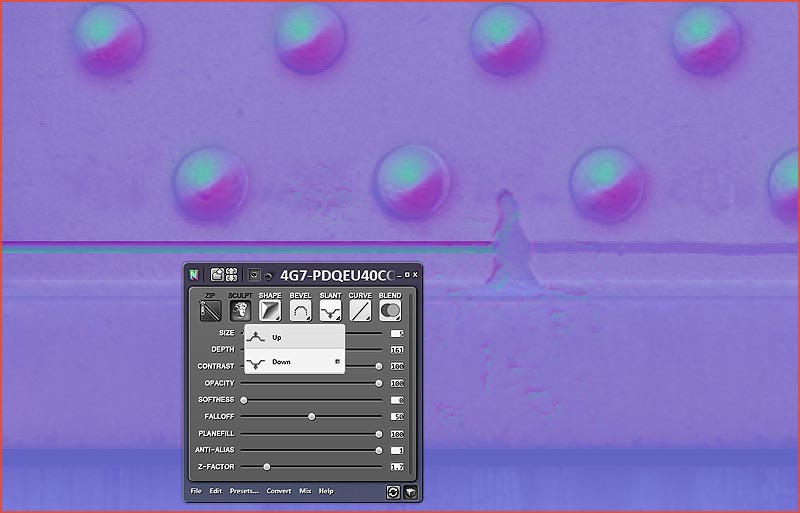
I sculpted the Rivets this way and added some fine detail to the metal parts in a second layer, such as adding in depth to the dented area, the line cutting through the panel under the rivets, and I added some very fine dents under the bigger dent. Go crazy! You can add in as much detail as you want!
To paint detail with different height, size, opacity, and so on, simply make a new layer and repeat the aforementioned steps. To create the dents I changed Slant from Up to Down, in the top toolbar of nDo2.
